This book is very simple to make but it’s like a fun magic show once it’s finished. This makes a great project for kids because the materials and instructions are simple, but the end result is mesmerizing. All you need is paper, scissors and a glue stick. If you have a bone folder, great, but it’s not necessary.
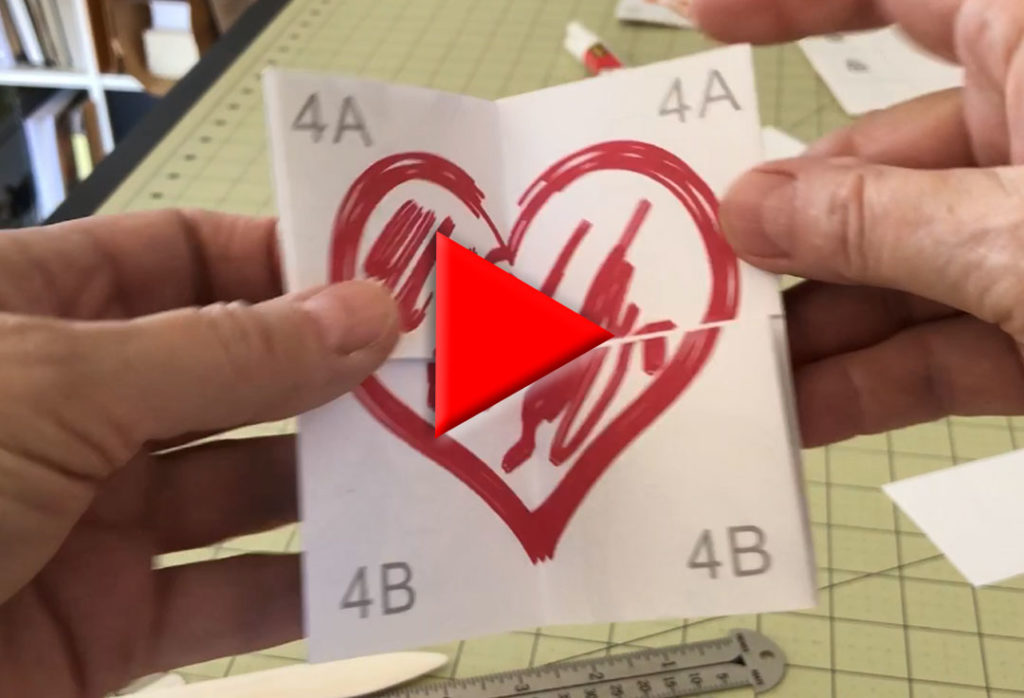
While this is a great project for kids, it’s also an intriguing way to make a simple 4-page artist book. Use fine art paper and treat it like a sketch book, or plan ahead and print what you want before you fold it. This interesting little form lends itself to all sorts of creative uses. I’m just using a simple heart in this example so you can see graphically how it folds.
Here’s an example template of where images would go if you wanted to pre-print. This also shows you where to apply glue. It doesn’t matter how big your paper is – you just need a square. The paper will be divided evenly into 16 squares.
If you’re doing this with kids, or even for yourself the first time you make one, you probably want to mark each square lightly with a pencil with the appropriate designation, including keeping the orientation of the designators. This tells you how things will end up once its folded.
My example has been printed on a regular 8 ½ x 11 piece of paper. Start by cutting your paper into a square. Next you will fold it into the 16 smaller squares.
So, place the 4A side face down and fold the paper in half. Then fold each side in half again.
Open the paper up and fold it in half the other way. Again, fold each half into the center.
Now your paper is divided into 16 small squares. The next step is to cut out the center four squares.
I usually do this with a razor blade or scalpel against a straight edge to get a perfectly straight line, but you can also just use scissors, which is probably what you’d want to do if you were working with kids on this project. Be careful not to cut too far.
Open the paper back up with the 4A side face up. The next step is to apply glue to the opposing marked corners and fold those sides over. Use the scraps you’ve cut off as glue barriers so you don’t get glue all over your work surface. If you’re making an artist book with fine art paper you’ll probably want to use a PH neutral glue for this step, like PVA glue, instead of a glue stick.
Working with that same side up, apply glue to the other two marked opposing corners and fold those over. If you are using the same scrap paper make sure the previous glue has dried so you don’t get any unwanted glue on other parts of your book. You are now finished with the construction of the book. It should be one-quarter of the size of the paper you started with.
Opening, or activating the book, is a simple matter of folding it in half backwards, rotating it one-quarter turn counter-clockwise and then opening it up again. Continue this process over and over again. You never have to back up.
That’s it. That’s all there is to making the flexagon!


