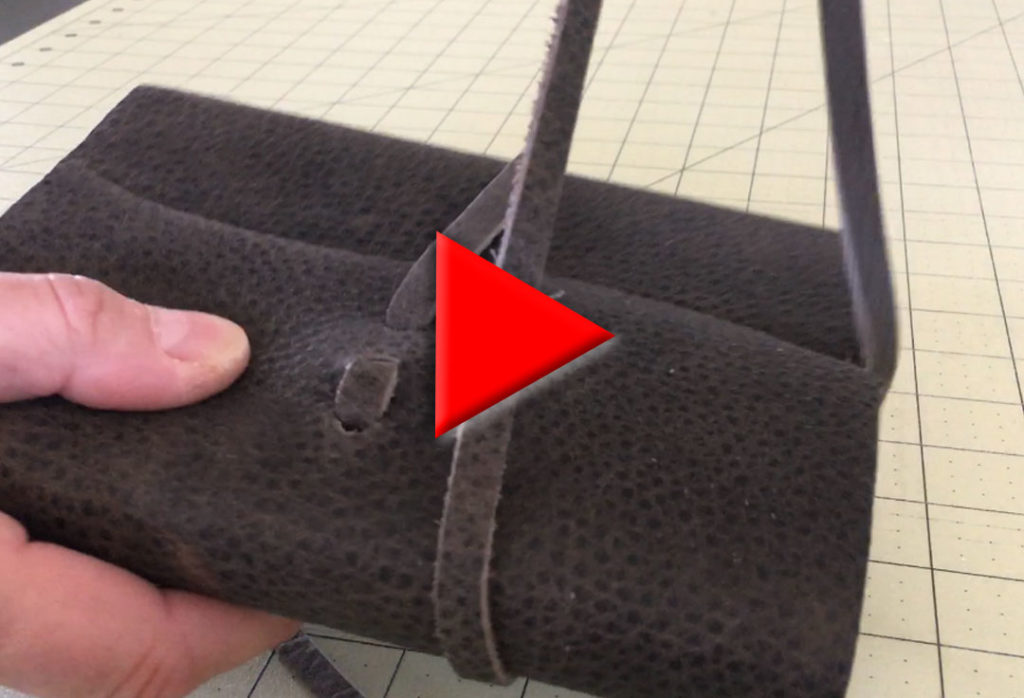
You can view a video of this process here:
…or follow the written instructions below.
1.
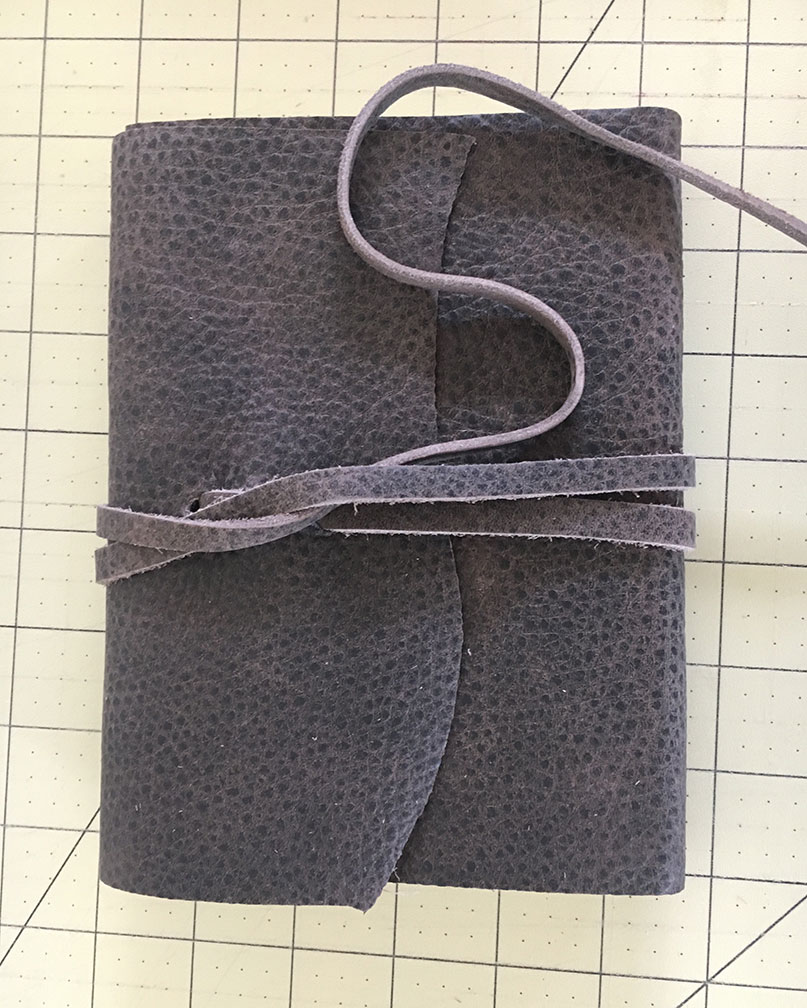
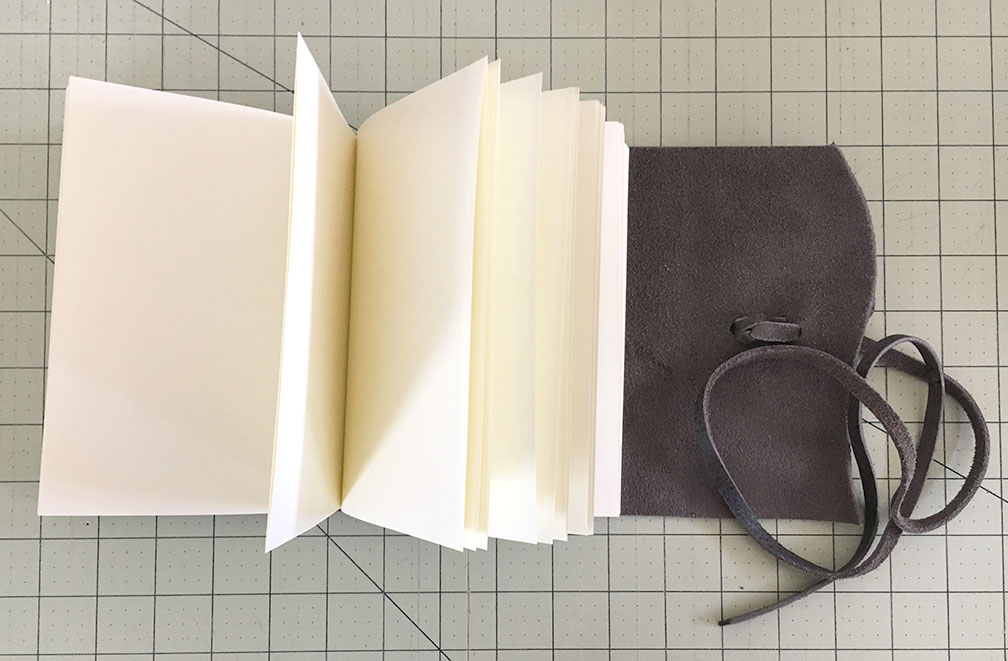
This book cover is a simple piece of leather, or other heavy material, with a textblock glued in. A strip of leather or string wrapped around the book to keep it closed finishes the whole thing off.
The most complex part of this technique is creating the sewn textblock. See instructions for creating the sewn textblock here.
2.
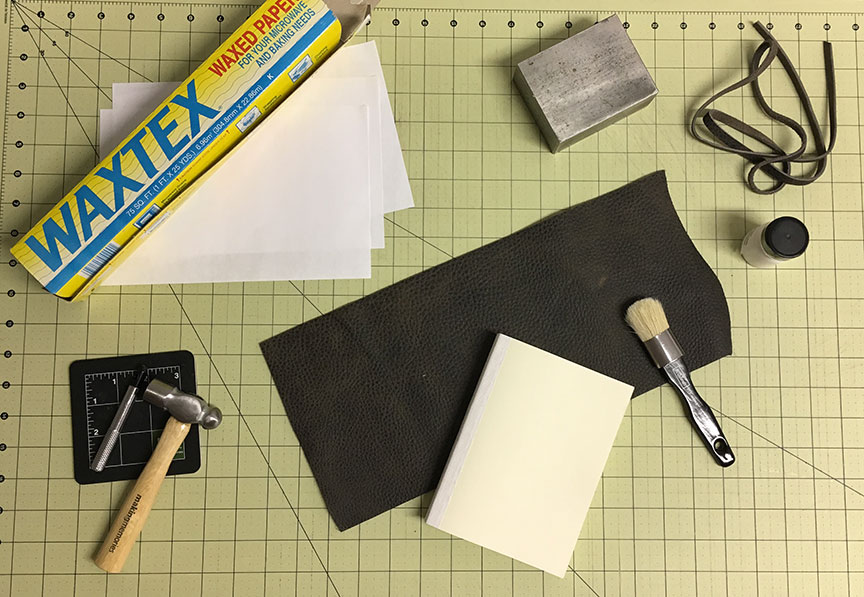
In addition to the textblock and cover material you will need a few simple items: a razor blade or X-acto knife, some glue (PVA glue is best because it is PH neutral and remains flexible once it dries) and a brush to spread it, some scraps of paper to use as a barrier when you are spreading the glue, and some sheets of waxed paper to keep moisture from being absorbed into other parts of the book as everything is drying.
3.
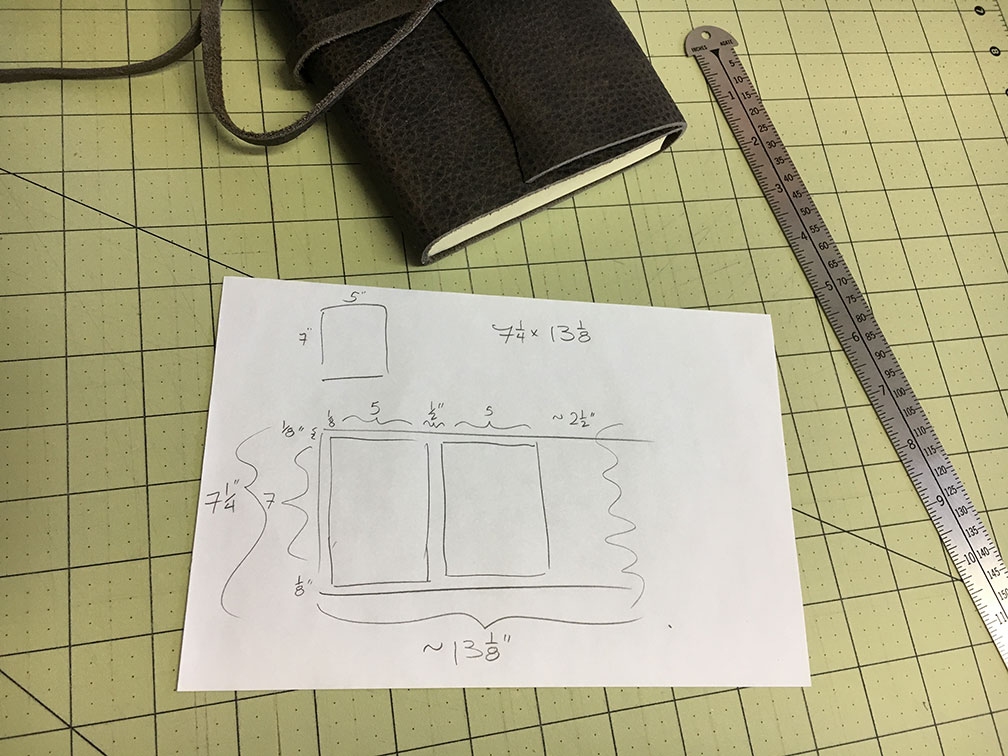
Once you have determined the size of your textblock, cut your cover with margins about 1/8” larger top, bottom and front side. The cover will be wider than just twice the width of the textblock as you will be adding extra material for the flap that wraps around the front (maybe half again the width of the textblock) plus you need to add in the width of the spine.
So, for example, if your textblock is 5” x 7” and the spine is 1/2” thick the cover would be something like 7 1/4” x 13 1/8” (see diagram above).
Obviously, the wrapped journal has a loose, organic feeling to it once it is wrapped closed, so the accuracy of the width of the cover is less critical than the accuracy of the height. You want to be a bit more precise with the height, keeping the margins small and accurate.
4.
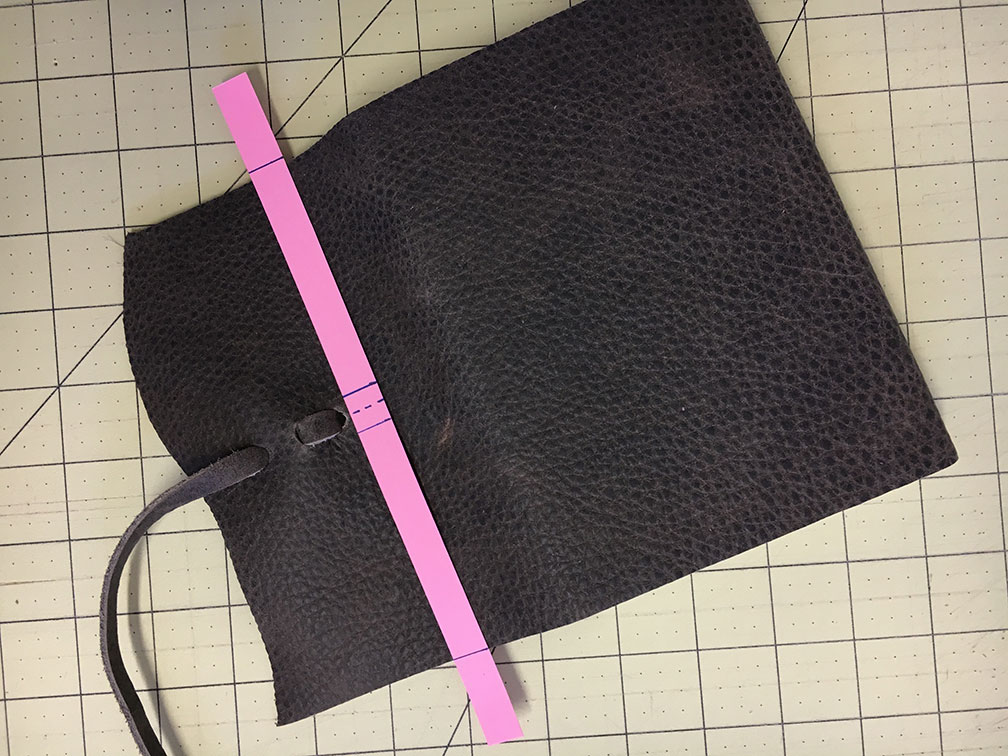
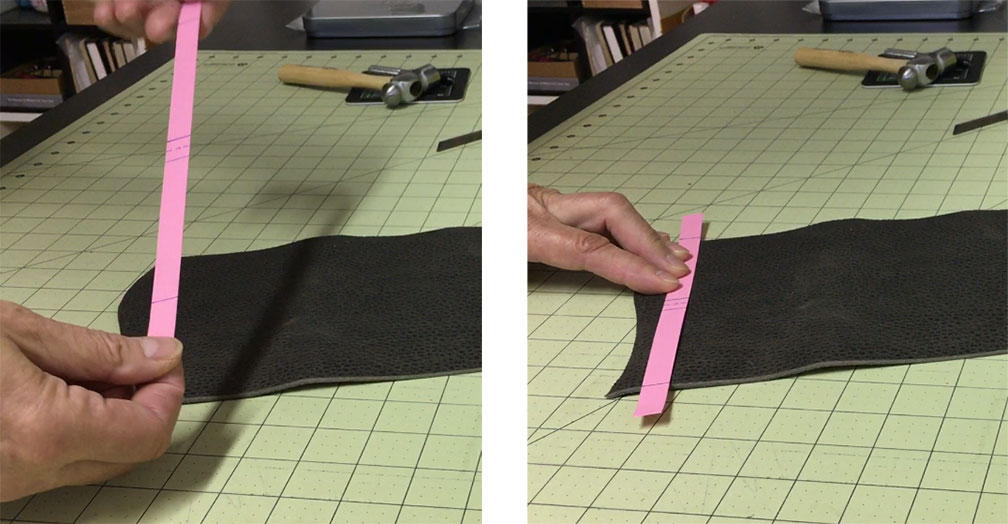
You’ll want to make three slits or holes in one edge of the cover to pass the strap through. Consider making a template from a piece of cardstock or cardboard with the measurements on it to mark the locations of the openings. This will keep the measurements more accurate. A strip of cardstock that is ¼” wide and an inch wider than the cover will work. Mark the edges of the cover and the center point between those two marks. Use this template to mark a center point, move the strip 1/4″ and mark another center point, move it again to mark the last center point.
5.
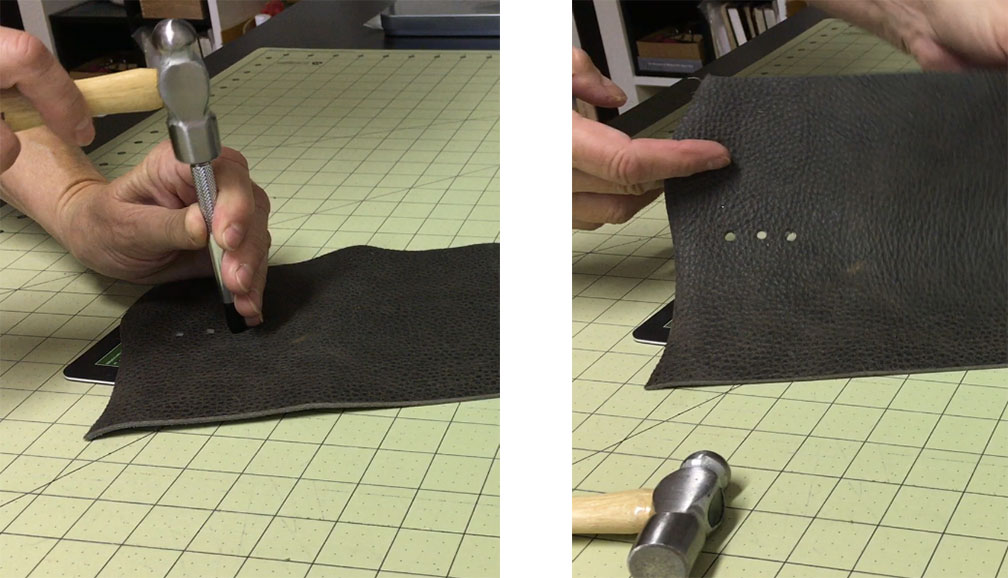
Use a razor blade or X-acto knife to create ¼” slits at these three marks, or use a hole punch to create openings that are a bit neater. You can buy a variety of shaped hole punches if you want to add another decorative element to your cover.
You’ll also want to cut a ½” slit in one end of the leather strip that you will be using to wrap around the book. You can test all of these holes now by passing the strip through each one, but once you’ve done that remove the strip for the time being so it doesn’t get in your way for the remaining construction of the book.
6.
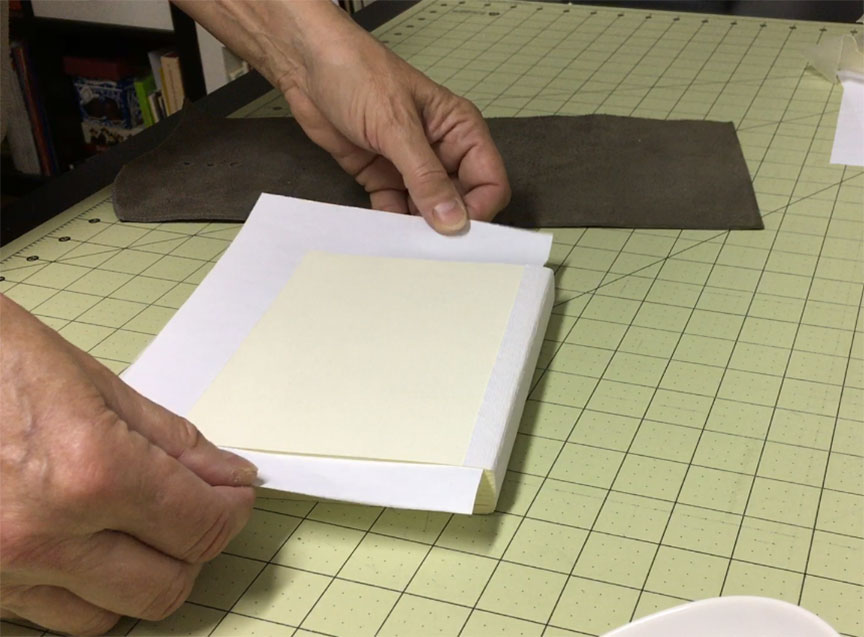
Before you start gluing place the textblock on the cover to see exactly how it will fit so you will know precisely what the alignment is. Once you apply the glue you won’t have much opportunity for adjustments.
Place a scrap piece of paper between the last page of the textblock and the rest of the pages to act as a glue barrier. This will keep glue off the other pages and off of the edges of the textblock.
7.
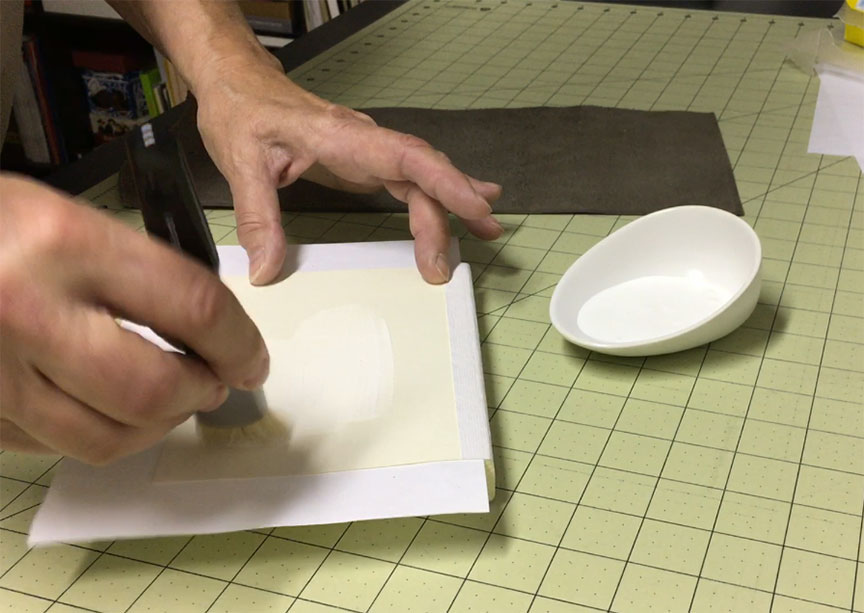
Spread the glue evenly from the center of the page out toward the edges. Always brush in that manner – from the center out. Keep the barrier sheet from moving around so you don’t get glue on the underside of the page.
8.
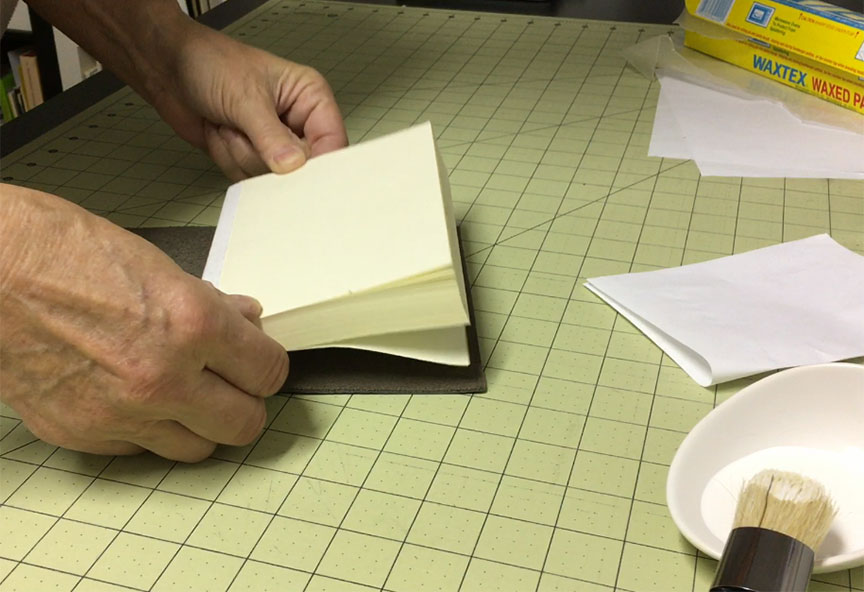
Once you are done carefully remove the barrier sheet (remember that you are trying to keep glue off of the other sheets in the textblock as well as the underside of the sheet you are applying glue to), turn the textblock over and position it on the cover. Press down on the textblock to get a good seal between the textblock and the cover.
9.
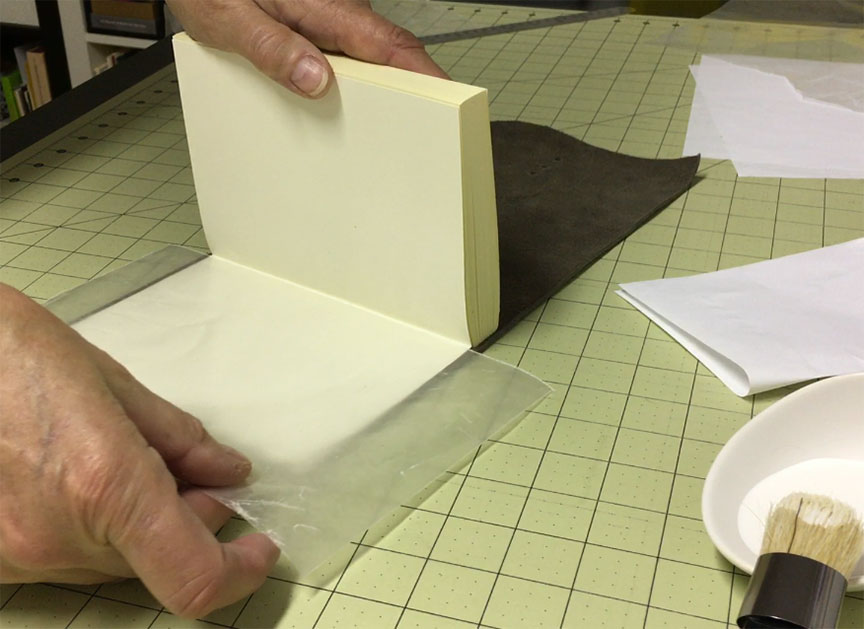
Place a piece of waxed paper in between the glued sheet and the rest of the textblock. This will keep moisture from affecting the rest of the book as the glue dries.
10.
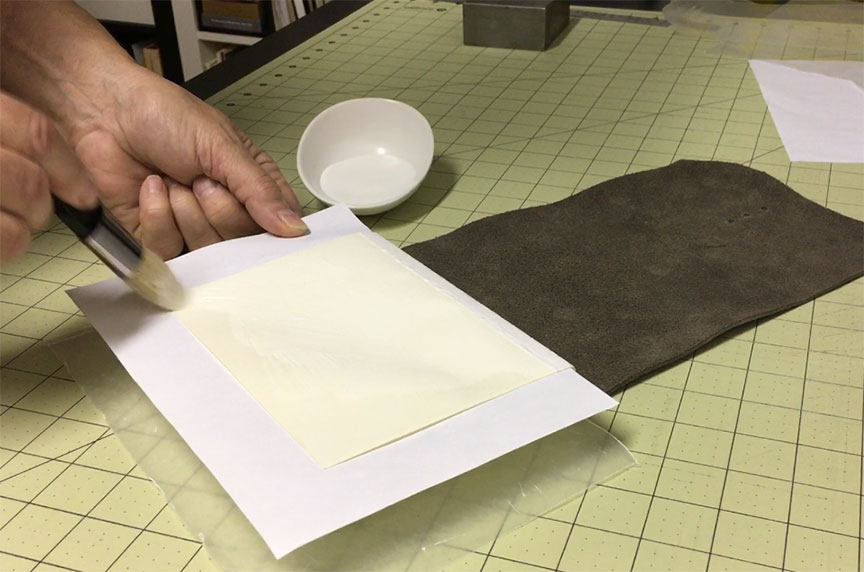
Turn the book over and repeat this process on the other side of the textblock. Remember to place a scrap piece of paper under the sheet you are gluing to keep glue off of the other pages.
11.
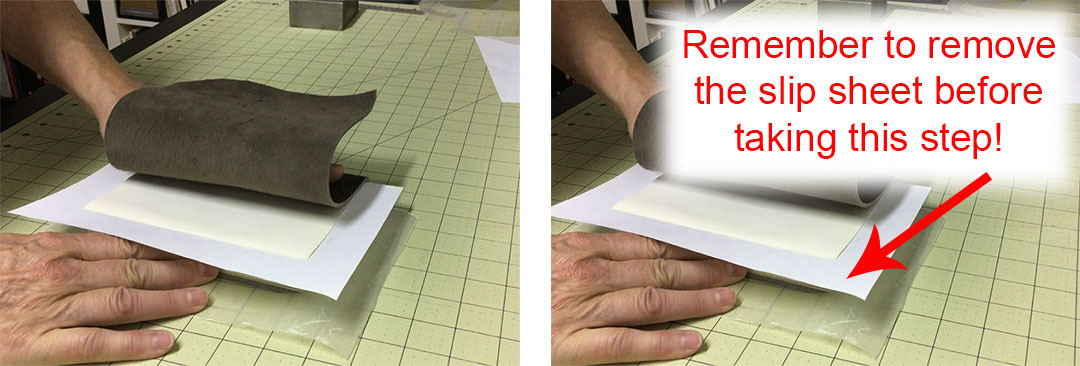
Carefully roll the cover over onto the glued sheet of paper, or roll the book onto the cover. Either method works. Be sure to remove the piece of scrap paper first – something I forgot to do in this picture – so you don’t get any excess glue on the cover.
12.
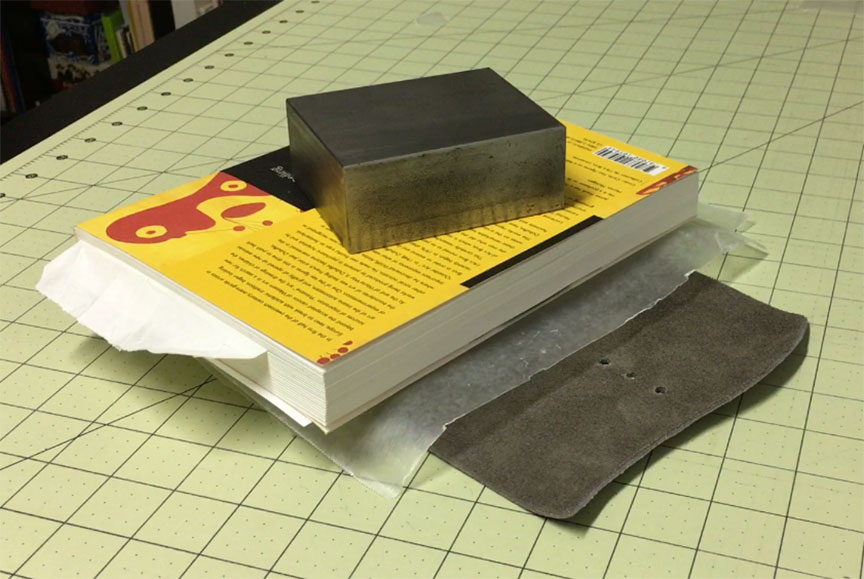
Place another piece of waxed paper between the glued page and the rest of the book to act as a moisture barrier and place a weight on the book.
13.
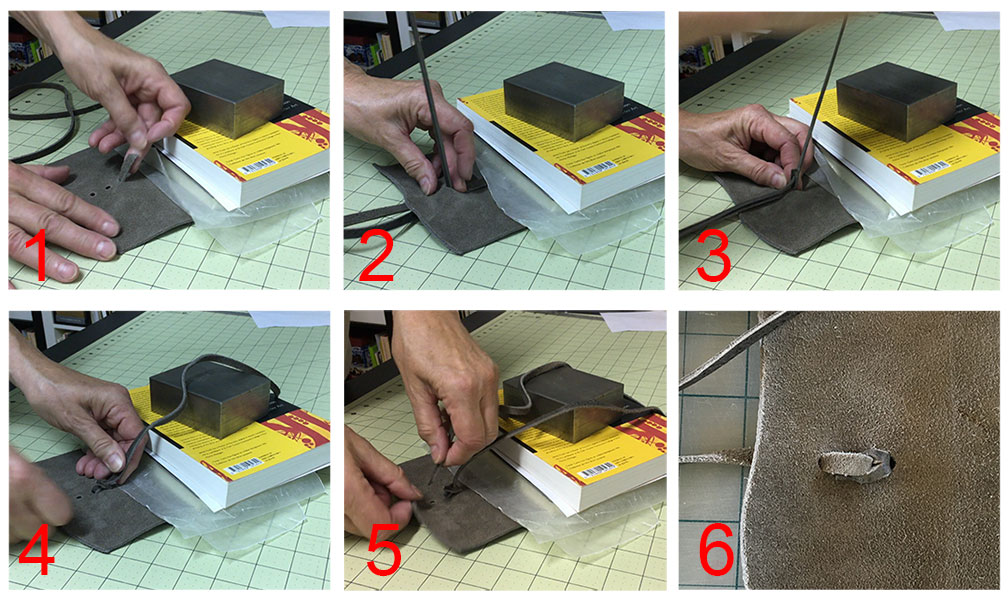
While the book is weighted down to dry you can add the tie strap to the flap. Bring the slotted end of the strap up from the front through the last hole leaving about an inch on the inside (1). Bring the other end up through the middle hole from the front, making sure the strap is not twisted (2). Pull this part of the strap all the way through. Next, thread the long end into the slot that you cut in the short end (3) and pull this tight (4). Thread the long end out through the final hole so the strap ends up on the outside of the book (5) .
That’s it (6). Just let everything dry for about 12 hours and your book is ready to use!
